LibreOffice(Windows版)でeps画像を表示する方法
LinuxのLibreOficeでeps画像を貼り付け、それをWindowsで表示すると正しく表示されません。そこで、正しく画像を表示するためのGhostScriptの設定方法を紹介します。
現象
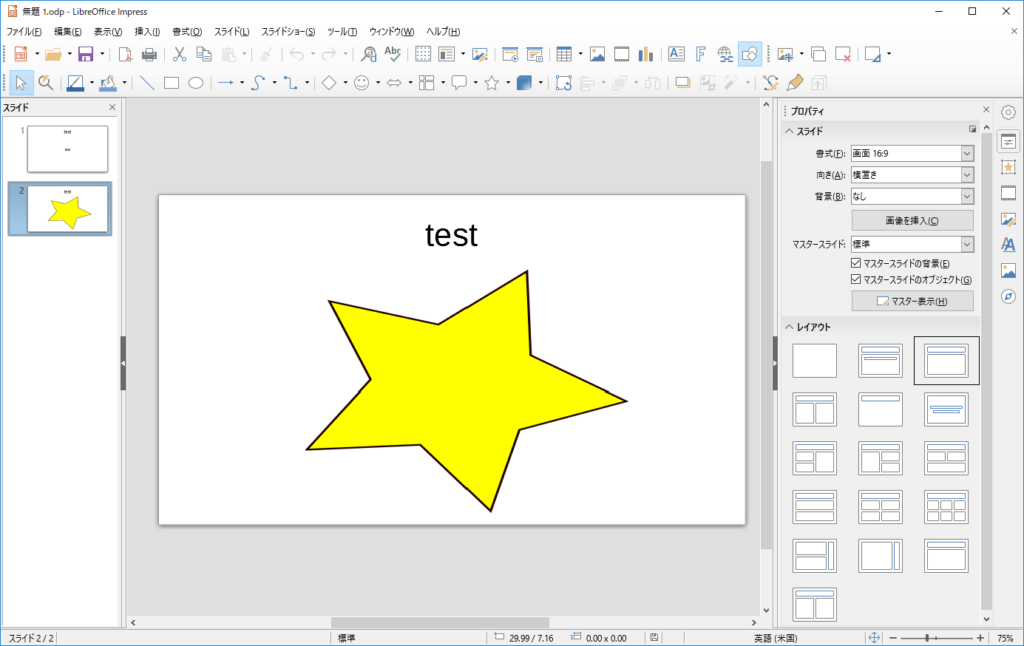
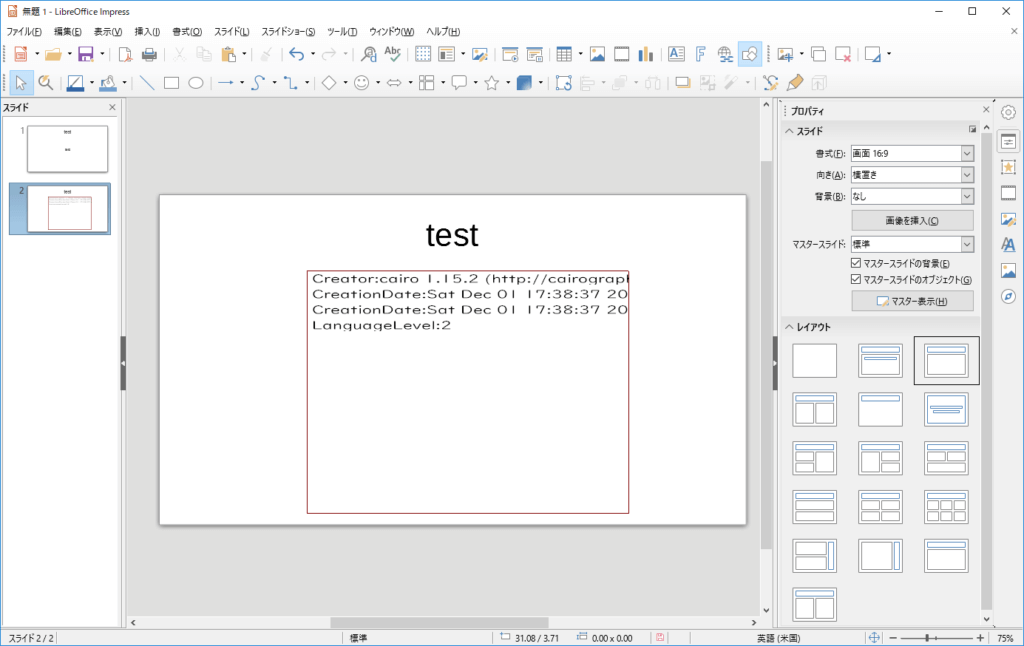
LibreOfficeにEPS画像をドラッグ&ドロップすると、以下のように作成日などのテキスト情報しか表示されません。
- Creator:
- CreationDate:
- CreationDate:
- LanguageLevel:2
![](https://takumi9942.net/blog/wp-content/uploads/2018/12/025-1024x646.png)
EPSファイルを正しく表示するには、GhostScriptのインストールとパスの設定が必要だそうです。
1. LibreOfficeのインストール
![](https://takumi9942.net/blog/wp-content/uploads/2018/12/001-1024x595.png)
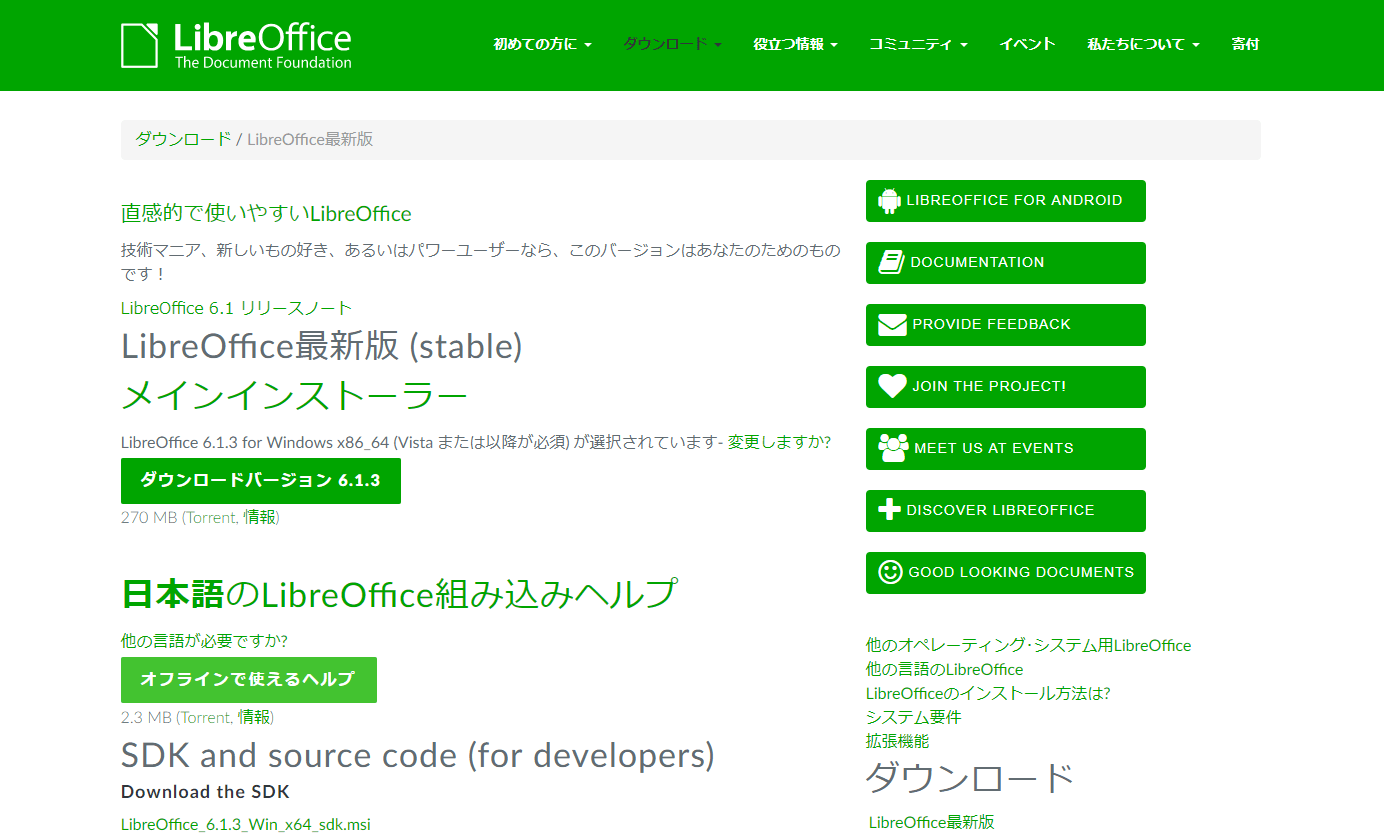
LibreOfficeの公式サイトにアクセスし、ダウンロードをクリックします。
次のページで、最新版(Stable)のインストーラーをダウンロードします。
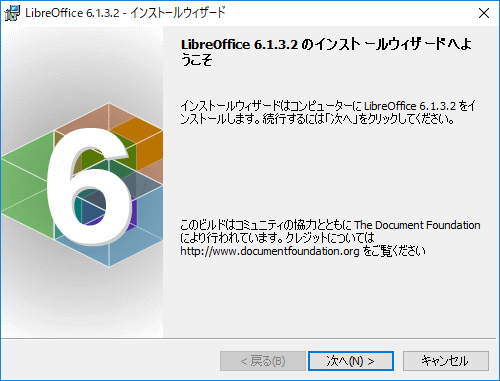
![](https://takumi9942.net/blog/wp-content/uploads/2018/12/002-1024x619.png)
インストールを進めていきます。
![](https://takumi9942.net/blog/wp-content/uploads/2018/12/003.png)
2. ghostscriptのインストール
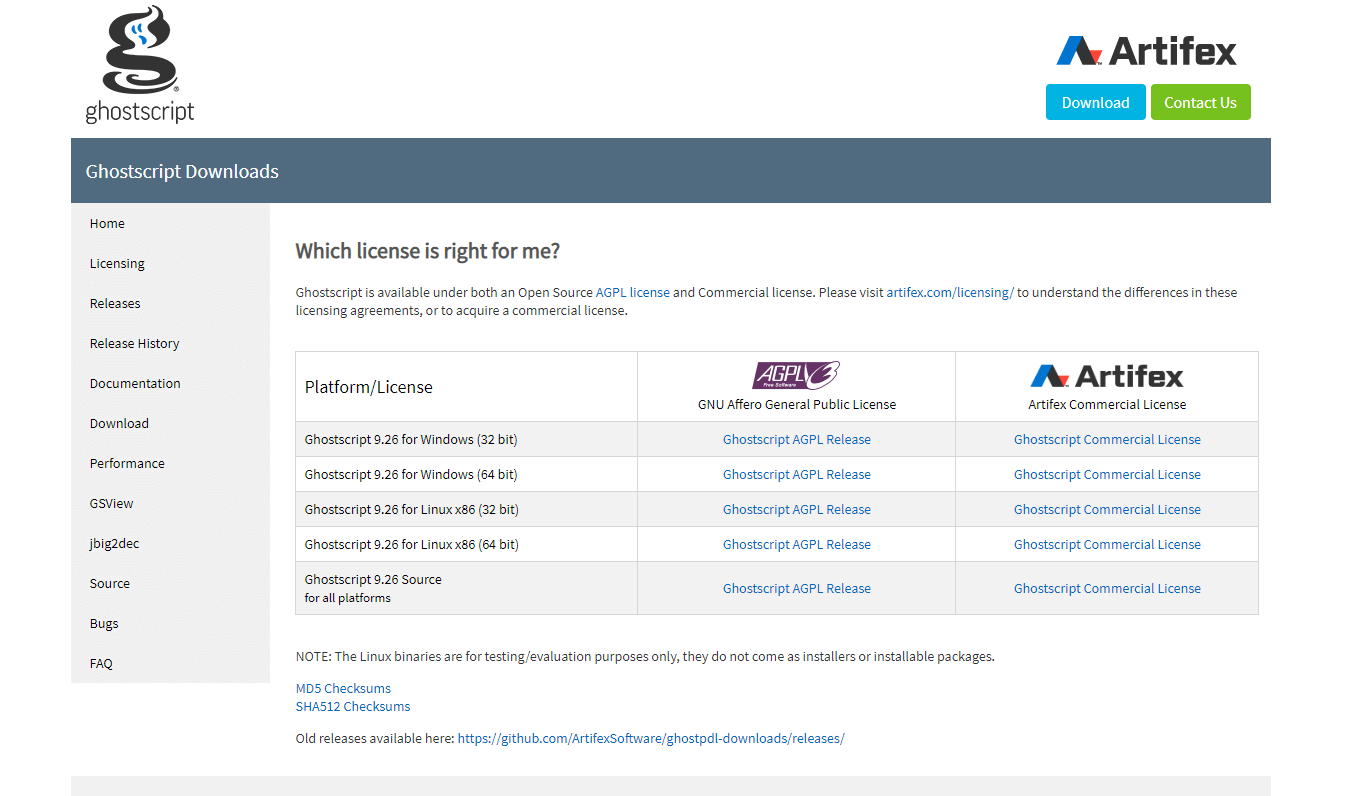
ghostscriptの公式サイトにアクセスし、左のサイドバーの「Download」をクリックします。
![](https://takumi9942.net/blog/wp-content/uploads/2018/12/008-1024x590.png)
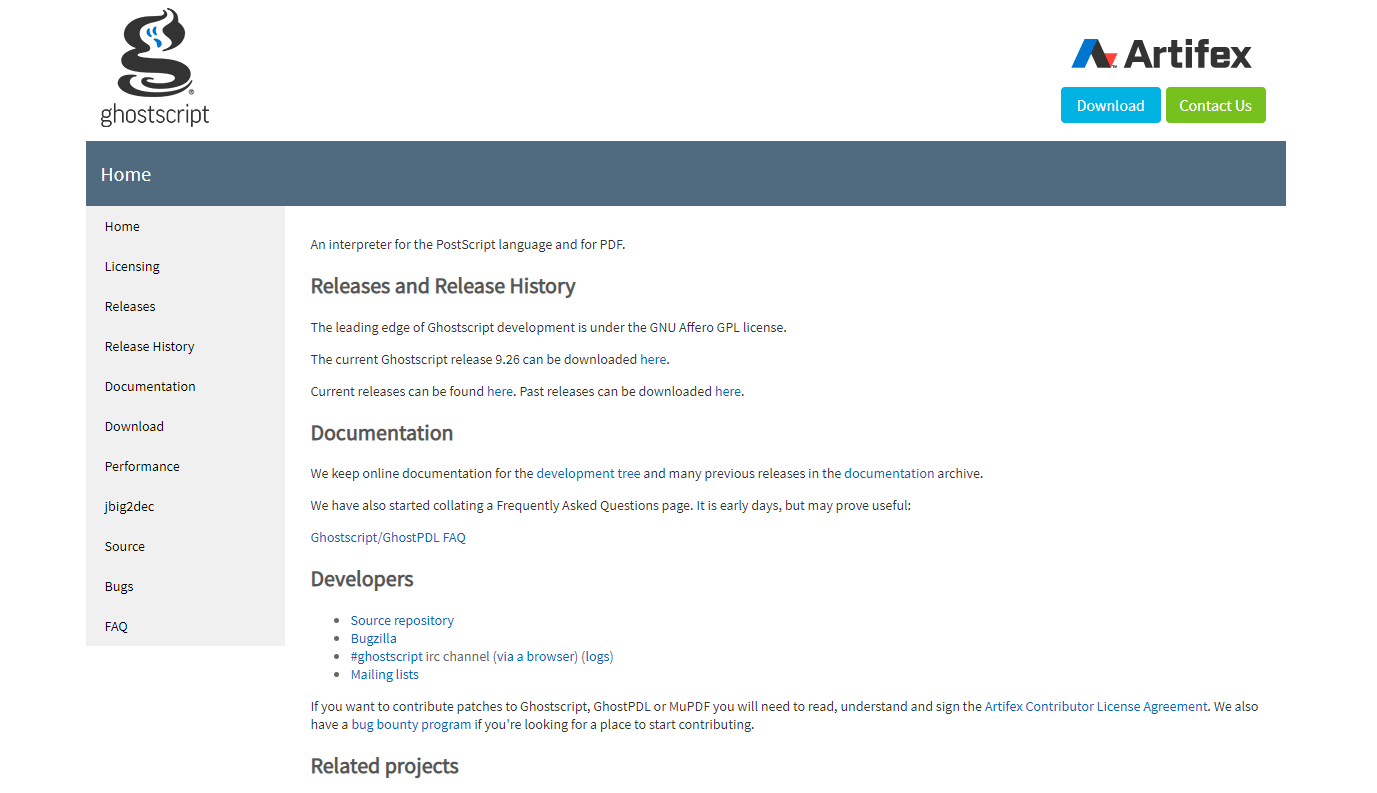
EPSを表示させたいので「Ghostscript」を選択します。
![](https://takumi9942.net/blog/wp-content/uploads/2018/12/009-1024x606.png)
右側がオープンソースの無料版、左側が商用の有料版になっています。有償版は、ghostscriptを含むプログラムを有償で販売したい場合などに必要とされるようです。
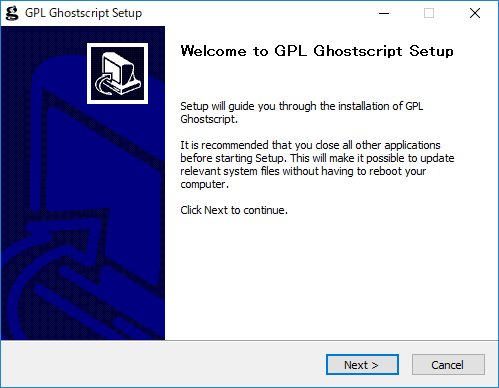
![](https://takumi9942.net/blog/wp-content/uploads/2018/12/010-1024x598.png)
インストールを進めていきます。
![](https://takumi9942.net/blog/wp-content/uploads/2018/12/011.png)
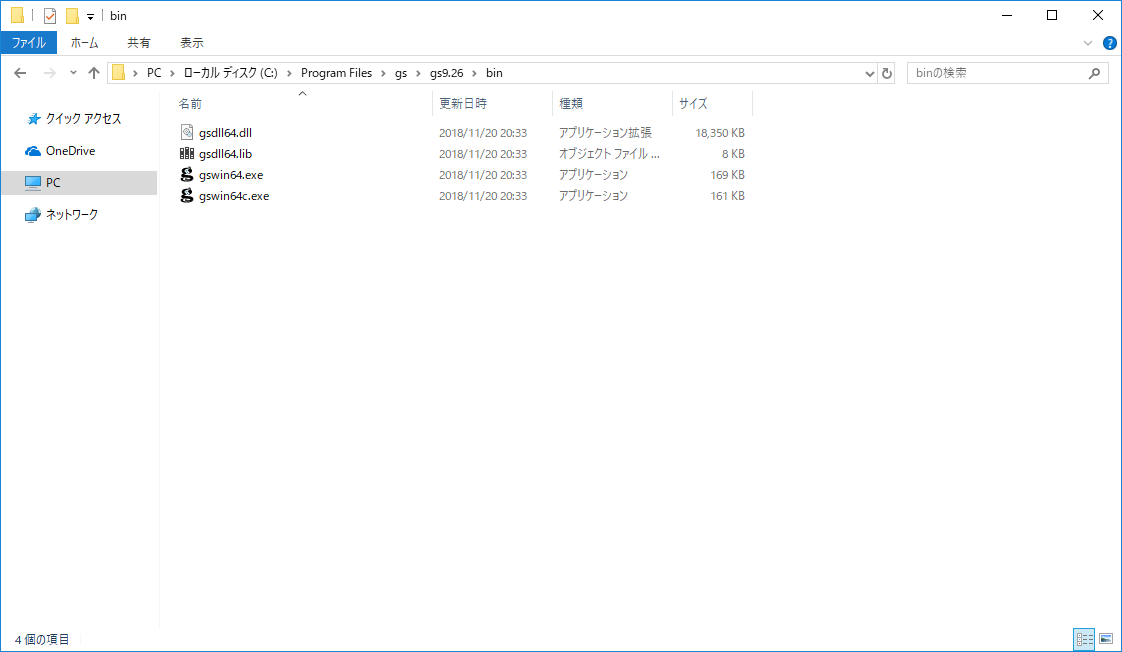
3. (64bitの場合)ハードリンクの作成
「C:\Program Files\gs\gsバージョン\bin」を開きます。
![](https://takumi9942.net/blog/wp-content/uploads/2018/12/016-1024x595.png)
一番上のバーをクリックし、「cmd」と入力します。
![](https://takumi9942.net/blog/wp-content/uploads/2018/12/017-1024x595.png)
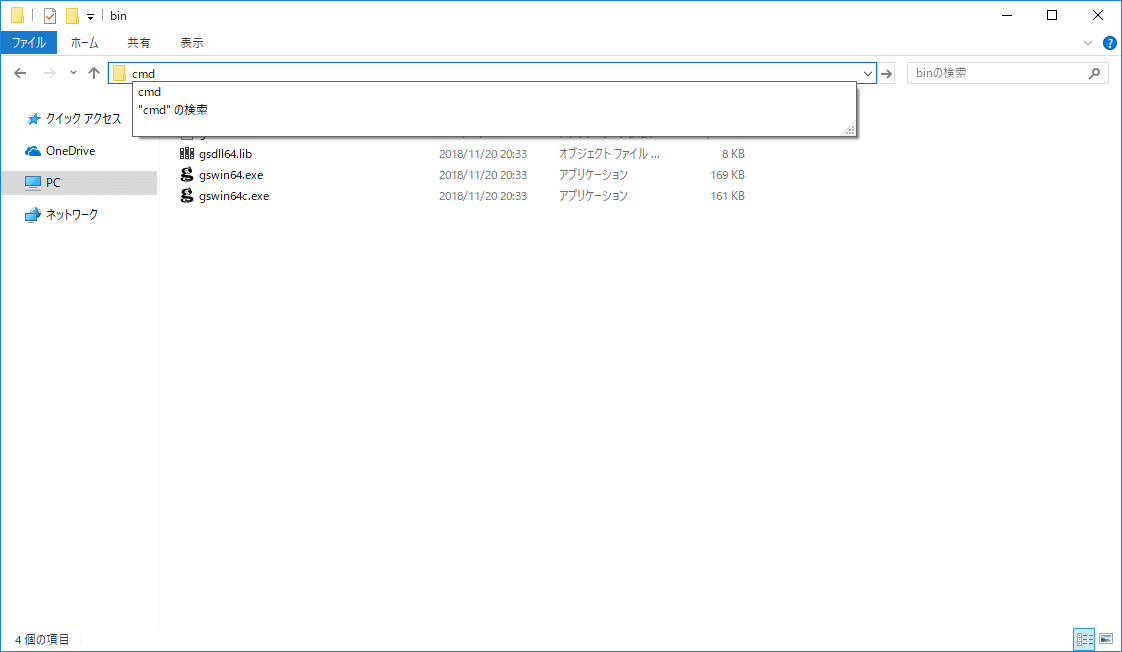
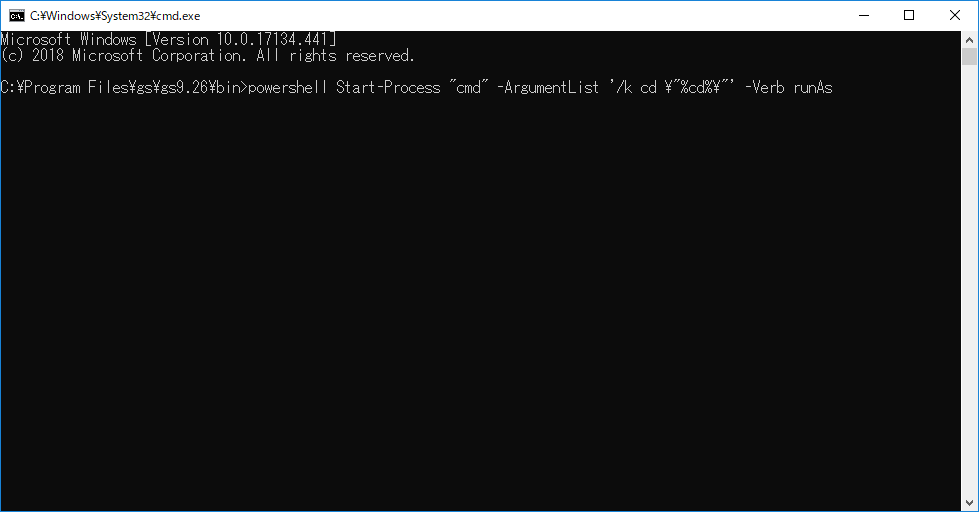
以下のコマンドを入力し、管理権限のコマンドプロンプトを開きます。
powershell Start-Process "cmd" -ArgumentList '/k cd \"%cd%\"' -Verb runAs
![](https://takumi9942.net/blog/wp-content/uploads/2018/12/018.png)
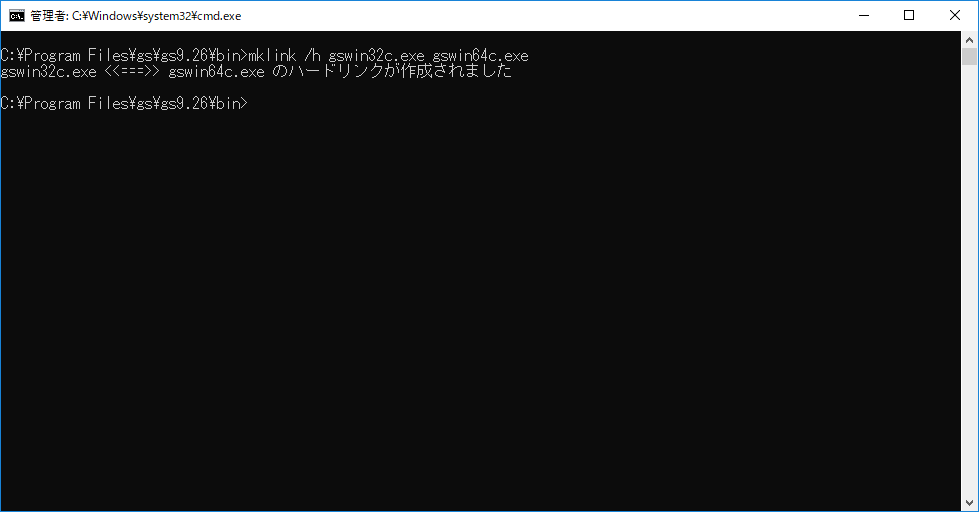
新しく開いた管理権限のコマンドプロンプトで以下のコマンドを実行します。
mklink /h gswin32c.exe gswin64c.exe
![](https://takumi9942.net/blog/wp-content/uploads/2018/12/019.png)
4. ghostscriptへのパスを設定
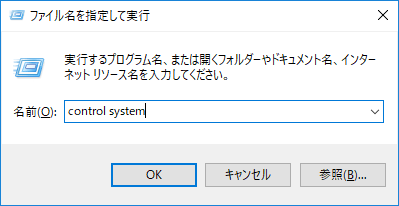
1.「Windowsキー+Rキー」を同時押して、「ファイル名を指定して実行」を開きます。
![](https://takumi9942.net/blog/wp-content/uploads/2018/12/020.png)
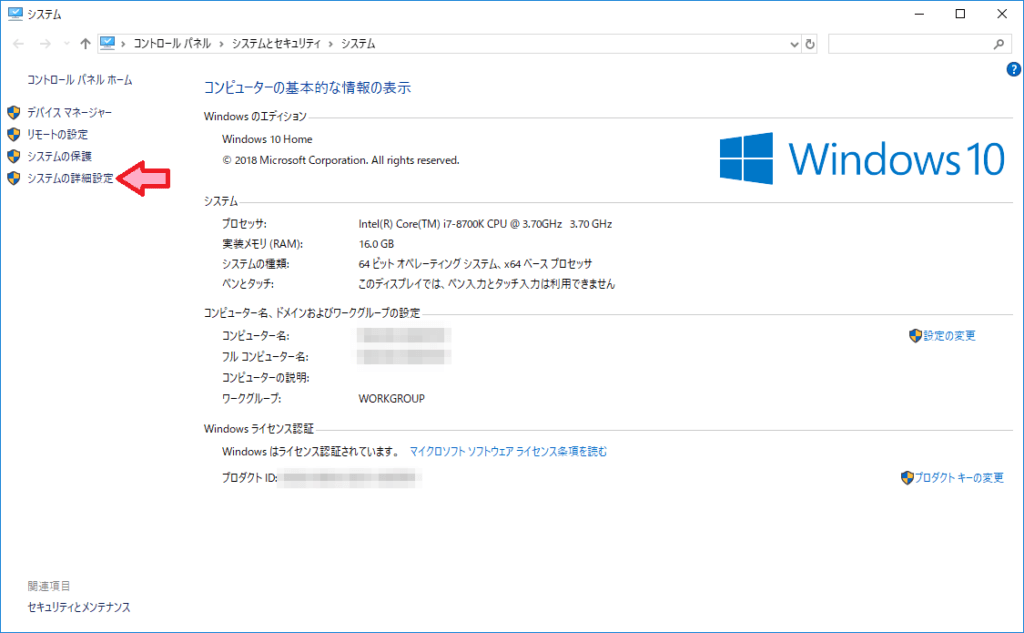
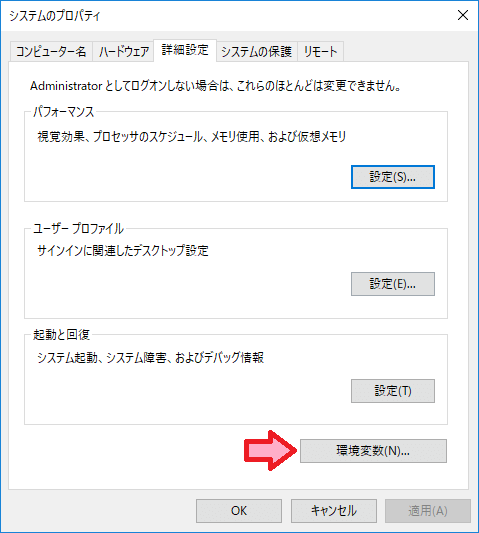
2. システムとセキュリティが開くので、左のサイドバーから「システムの詳細設定」をクリックします。
![](https://takumi9942.net/blog/wp-content/uploads/2018/12/021-1024x633.png)
3. 「詳細設定」タブの「環境変数」をクリックします。
![](https://takumi9942.net/blog/wp-content/uploads/2018/12/022.png)
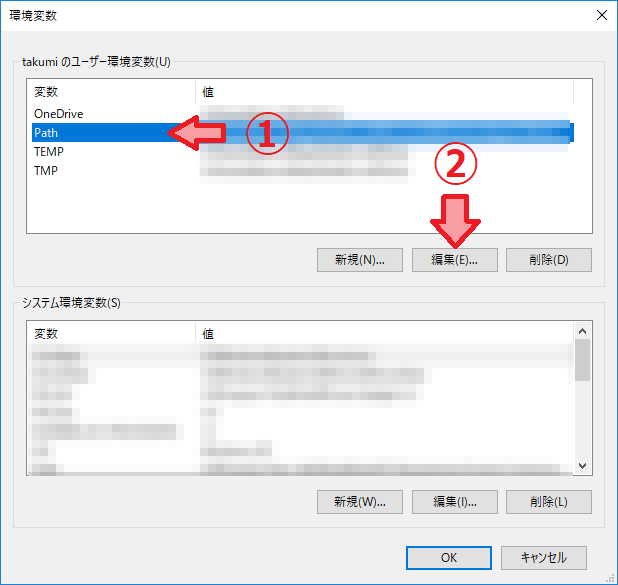
4. ユーザー環境変数から「Path」を選択し、「編集」をクリックします。
![](https://takumi9942.net/blog/wp-content/uploads/2018/12/023.png)
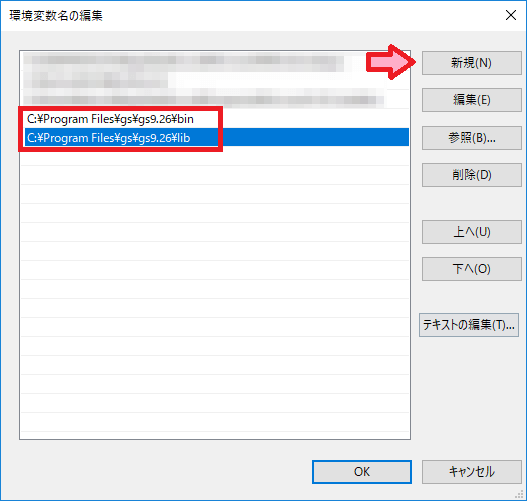
5.GhostScriptのlibディレクトリとbinディレクトリを追加します。
C:\Program Files\gs\gs9.26\bin
C:\Program Files\gs\gs9.26\lib
![](https://takumi9942.net/blog/wp-content/uploads/2018/12/024.png)
以上で完了です。以下のように表示されていたeps画像が、
![](https://takumi9942.net/blog/wp-content/uploads/2018/12/025-1024x646.png)
以下のように正しく表示されるはずです。
![](https://takumi9942.net/blog/wp-content/uploads/2018/12/026-1024x646.png)
ディスカッション
コメント一覧
まだ、コメントがありません