過去にMariaDBとphpMyAdminを設定する記事を書いたのですが、一部非推奨な操作を行っていたので再度書き直すことにしました。また、今回はついでにWordPressのインストール方法も紹介します。
PHPのインストール
1.最新版のPHPをインストールするために、Remiレポジトリを追加します。
yum install https://rpms.remirepo.net/enterprise/remi-release-7.rpm
2. 利用したいPHPバージョンのリポジトリを有効化します。/etc/yum.repos.d/remi-php72.repoを任意のテキストエディタで開き、enabled=0をenabled=1に書き換えます。
vim /etc/yum.repos.d/remi-php72.repo
[remi-php72]
name=Remi's PHP 7.2 RPM repository for Enterprise Linux 7 - $basearch
#baseurl=http://rpms.remirepo.net/enterprise/7/php72/$basearch/
#mirrorlist=https://rpms.remirepo.net/enterprise/7/php72/httpsmirror
mirrorlist=http://cdn.remirepo.net/enterprise/7/php72/mirror
enabled=1 ←ここを編集
/etc/yum.repos.d/remi-php72.repoを編集します。(例:7.3なら
remi-php73.repo)3. PHPのインストールを行います。
yum install php php-common php-fpm php-gd php-mbstring php-pdo php-mysqlnd php-opcache
4. PHPを起動し、自動起動に登録します。
systemctl start php-fpm
systemctl enable php-fpm
MariaDBのインストール
1. MariaDBの公式サイトにアクセスし、LinuxのOSを選択すると出てくるリポジトリのデータを確認します。

2. /etc/yum.repos.d/MariaDB.repoを任意のテキストエディタで開き、公式サイトのリポジトリデータを貼り付けます。
vim /etc/yum.repos.d/MariaDB.repo
# MariaDB 10.3 CentOS repository list - created 2018-09-29 03:25 UTC
# http://downloads.mariadb.org/mariadb/repositories/
[mariadb]
name = MariaDB
baseurl = http://yum.mariadb.org/10.3/centos7-amd64
gpgkey=https://yum.mariadb.org/RPM-GPG-KEY-MariaDB
gpgcheck=1
3. 以下のコマンドでMariaDBをインストールします。
yum install MariaDB-server MariaDB-client
4./etc/my.cnfを任意のテキストエディタで開き、以下の内容を追記します。
vim /etc/my.cnf
#
# This group is read both both by the client and the server
# use it for options that affect everything
#
[client-server]

##### ここから追加 ←
[mysqld]
character-set-server=utf8

[client]
default-character-set=utf8
##### ここまで追加 ←
#
# include all files from the config directory
#
!includedir /etc/my.cnf.d
5. MariaDBを起動し、自動起動に登録します。
systemctl start mariadb
systemctl enable mariadb
6. mysql_secure_installationコマンドで初期設定を行います。
Enter current password for root (enter for none)
#最初はパスワードが設定されていないのでこのままEnter
Set root password? [Y/n]
#[Y]キーを押して、パスワードを設定します。
Remove anonymous users? [Y/n]
#anonymousユーザーはテスト用のユーザーなので、[Y]キーを押して削除します。
Disallow root login remotely? [Y/n]
#データベースに外部からアクセスできるかどうかを選択します。
#インストールしたVPS内だけで使用する場合は[Y]キーを押してリモートログインを禁止します
Remove test database and access to it? [Y/n]
#testデータベースはテスト用のデータベースなので、[Y]キーを押して削除します。
Reload privilege tables now? [Y/n]
#すぐに設定を反映するか聞かれるので、[Y]キーを反映します。
phpMyAdminのインストール
1.phpMyAdminをインストールします。
yum install phpmyadmin --enablerepo=remi
2. phpMyAdminへのシンボリックリンクを作成します。
ln -s /usr/share/phpMyAdmin /usr/share/nginx/html/任意のディレクトリ名
(例:
/usr/share/nginx/html/testMyAdminにリンクを作成した場合、https://example.com/testMyAdmin/)phpMyAdminの環境保管領域(任意)
上記のシンボリックリンクを作成した段階で、phpMyAdminのほとんどの機能は利用可能です。(以下の画像のように「php MyAdmin 環境保管領域が完全に設定されていないため、いくつかの拡張機能が無効になっています。」という警告が発生します。)

phpMyAdminの設定を変更したり、拡張機能を利用したい場合は、以下の手順に従って環境保管領域を作成してください。
1.MariaDBにログインします。
mysql -u root -p
2. phpMyAdmin用のユーザーを作成します。
MariaDB [(none)]> create user 'pma'@'localhost' identified by 'パスワード';
config.inc.php以外には使用しないため、パスワードジェネレーターなどで非常に長いパスワードを生成することをお勧めします。3.create_tables.sqlを実行して必要なデータベースを作成します。
MariaDB [(none)]> source /usr/share/phpMyAdmin/sql/create_tables.sql
4. 作成したデータベースにpmaユーザーがアクセス出来るように権限を追加します。追加が完了したらexitコマンドで終了します。
MariaDB [(none)]> grant SELECT, INSERT, DELETE, UPDATE, ALTER on `phpmyadmin`.* to 'pma'@'localhost';
Query OK, 0 rows affected (0.000 sec)

MariaDB [(none)]> exit
5./etc/phpMyAdmin/config.inc.phpを任意のテキストエディタで開き、文頭のコメントアウト(//)を削除し、$cfg['Servers'][$i]['controlpass']に先程作成したpmaユーザーのパスワードを入力します。
vim /etc/my.cnf
※変更前
/**
 * phpMyAdmin configuration storage settings.
 */

/* User used to manipulate with storage */
// $cfg['Servers'][$i]['controlhost'] = '';
// $cfg['Servers'][$i]['controlport'] = '';
// $cfg['Servers'][$i]['controluser'] = 'pma';
// $cfg['Servers'][$i]['controlpass'] = 'pmapass';

/* Storage database and tables */
// $cfg['Servers'][$i]['pmadb'] = 'phpmyadmin';
// $cfg['Servers'][$i]['bookmarktable'] = 'pma__bookmark';
// $cfg['Servers'][$i]['relation'] = 'pma__relation';
// $cfg['Servers'][$i]['table_info'] = 'pma__table_info';
// $cfg['Servers'][$i]['table_coords'] = 'pma__table_coords';
// $cfg['Servers'][$i]['pdf_pages'] = 'pma__pdf_pages';
// $cfg['Servers'][$i]['column_info'] = 'pma__column_info';
// $cfg['Servers'][$i]['history'] = 'pma__history';
// $cfg['Servers'][$i]['table_uiprefs'] = 'pma__table_uiprefs';
// $cfg['Servers'][$i]['tracking'] = 'pma__tracking';
// $cfg['Servers'][$i]['userconfig'] = 'pma__userconfig';
// $cfg['Servers'][$i]['recent'] = 'pma__recent';
// $cfg['Servers'][$i]['favorite'] = 'pma__favorite';
// $cfg['Servers'][$i]['users'] = 'pma__users';
// $cfg['Servers'][$i]['usergroups'] = 'pma__usergroups';
// $cfg['Servers'][$i]['navigationhiding'] = 'pma__navigationhiding';
// $cfg['Servers'][$i]['savedsearches'] = 'pma__savedsearches';
// $cfg['Servers'][$i]['central_columns'] = 'pma__central_columns';
// $cfg['Servers'][$i]['designer_settings'] = 'pma__designer_settings';
// $cfg['Servers'][$i]['export_templates'] = 'pma__export_templates';
※変更後
/**
 * phpMyAdmin configuration storage settings.
 */

/* User used to manipulate with storage */
$cfg['Servers'][$i]['controlhost'] = '';
$cfg['Servers'][$i]['controlport'] = '';
$cfg['Servers'][$i]['controluser'] = 'pma';
$cfg['Servers'][$i]['controlpass'] = 'pmaユーザーのパスワード';

/* Storage database and tables */
$cfg['Servers'][$i]['pmadb'] = 'phpmyadmin';
$cfg['Servers'][$i]['bookmarktable'] = 'pma__bookmark';
$cfg['Servers'][$i]['relation'] = 'pma__relation';
$cfg['Servers'][$i]['table_info'] = 'pma__table_info';
$cfg['Servers'][$i]['table_coords'] = 'pma__table_coords';
$cfg['Servers'][$i]['pdf_pages'] = 'pma__pdf_pages';
$cfg['Servers'][$i]['column_info'] = 'pma__column_info';
$cfg['Servers'][$i]['history'] = 'pma__history';
$cfg['Servers'][$i]['table_uiprefs'] = 'pma__table_uiprefs';
$cfg['Servers'][$i]['tracking'] = 'pma__tracking';
$cfg['Servers'][$i]['userconfig'] = 'pma__userconfig';
$cfg['Servers'][$i]['recent'] = 'pma__recent';
$cfg['Servers'][$i]['favorite'] = 'pma__favorite';
$cfg['Servers'][$i]['users'] = 'pma__users';
$cfg['Servers'][$i]['usergroups'] = 'pma__usergroups';
$cfg['Servers'][$i]['navigationhiding'] = 'pma__navigationhiding';
$cfg['Servers'][$i]['savedsearches'] = 'pma__savedsearches';
$cfg['Servers'][$i]['central_columns'] = 'pma__central_columns';
$cfg['Servers'][$i]['designer_settings'] = 'pma__designer_settings';
$cfg['Servers'][$i]['export_templates'] = 'pma__export_templates';
以上でMariaDBとphpMyAdminの設定は完了です。
WordPressのインストール
1.公式サイトから最新のWordPressをダウンロードします。
curl -O https://ja.wordpress.org/wordpress-4.9.8-ja.tar.gz
2. ダウンロードしたファイルを解凍します。
tar -zxvf ./wordpress-4.9.8-ja.tar.gz
3. 任意のディレクトリに解凍したファイルを移動します。
mv ./wordpress /usr/share/nginx/html/任意のディレクトリ名
(例:
/usr/share/nginx/html/blogに移動した場合、https://example.com/blog/)4. wp-contentディレクトリの権限を修正します。
chown -R apache:apache /usr/share/nginx/html/設置したディレクトリ名/wp-content
SELinuxを使用している場合は、以下のコマンドで書き込み権限を追加します。
semanage fcontext -a -t httpd_sys_rw_content_t "/usr/share/nginx/html/設置したディレクトリ名/wp-content(/.*)?"
restorecon -RFv /usr/share/nginx/html/設置したディレクトリ名/
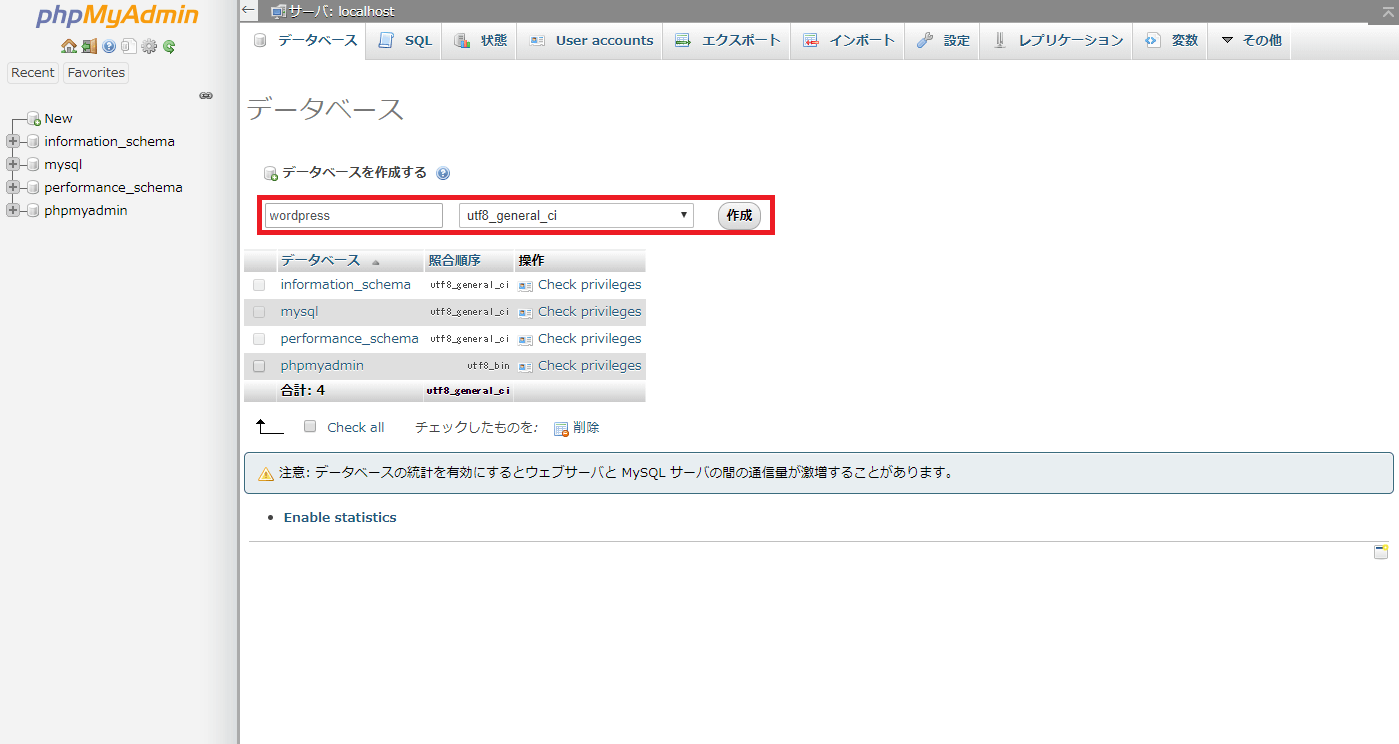
5. phpMyAdminにログインし、上部のデータベースタブからwordpress用のデータベースを作成します。
6.MariaDBにログインします。
mysql -u root -p
7. WordPress用のユーザーを作成します。
MariaDB [(none)]> create user 'ユーザー名'@'localhost' identified by 'パスワード';
8. 作成したユーザーにwordpressデータベースへの権限を追加します。追加が完了したらexitコマンドで終了します。
MariaDB [(none)]> grant all on `wordpressのデータベース名`.* to 'ユーザー名'@'localhost';
Query OK, 0 rows affected (0.000 sec)

MariaDB [(none)]> exit
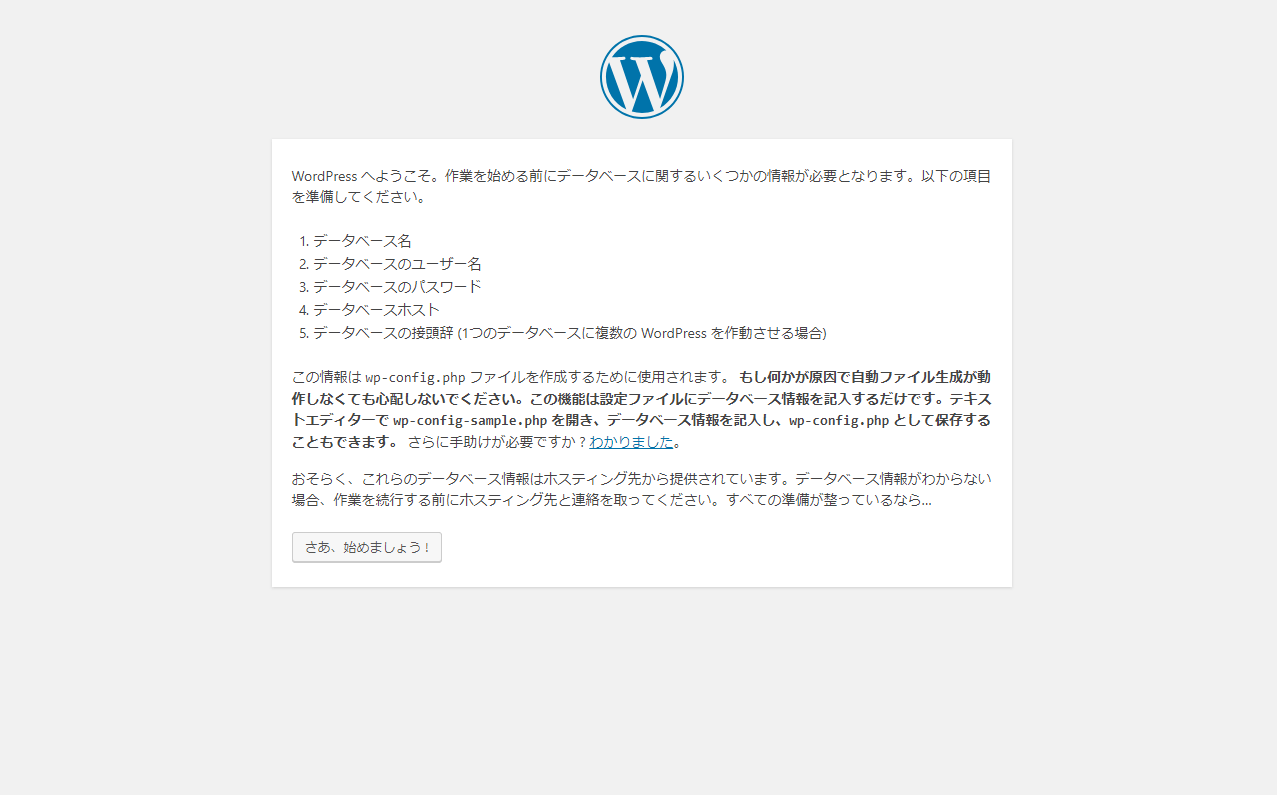
9. WordPressを設置したディレクトリにアクセスし、「さぁ、始めましょう!」をクリックします。(https://example.com/設置したディレクトリ/)
10. 必要事項を入力し、「送信」をクリックします。

11. 表示された内容をコピーし、/usr/share/nginx/html/設置したディレクトリ/wp-config.phpに貼り付けます。また、define('FS_METHOD', 'direct');を追記します。
vim /usr/share/nginx/html/設置したディレクトリ/wp-config.php
<?php
define('FS_METHOD', 'direct'); ← この行を追加
/**
 * WordPress の基本設定
 *
 * このファイルは、インストール時に wp-config.php 作成ウィザードが利用します。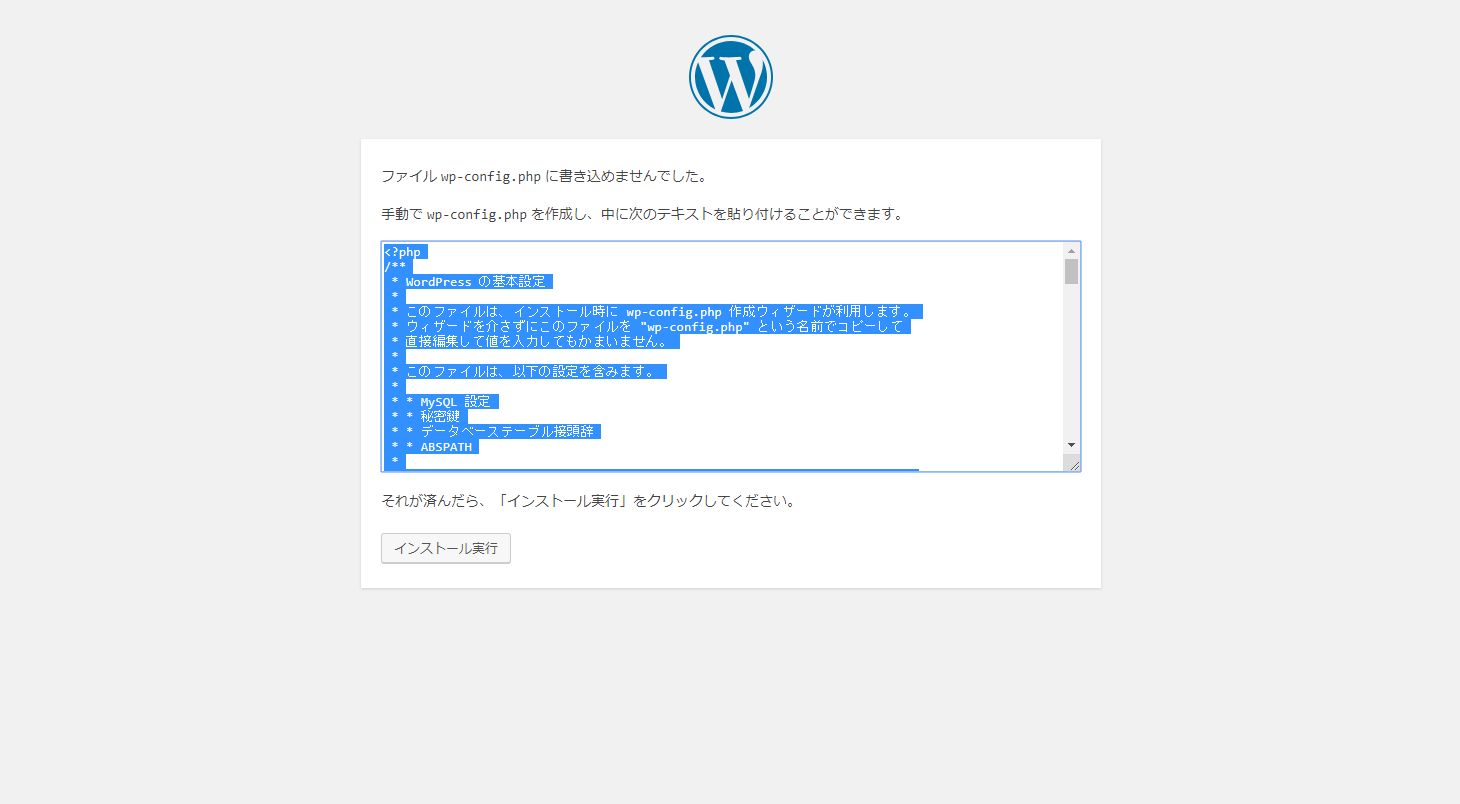
12. サイトの情報とログイン情報を入力します。
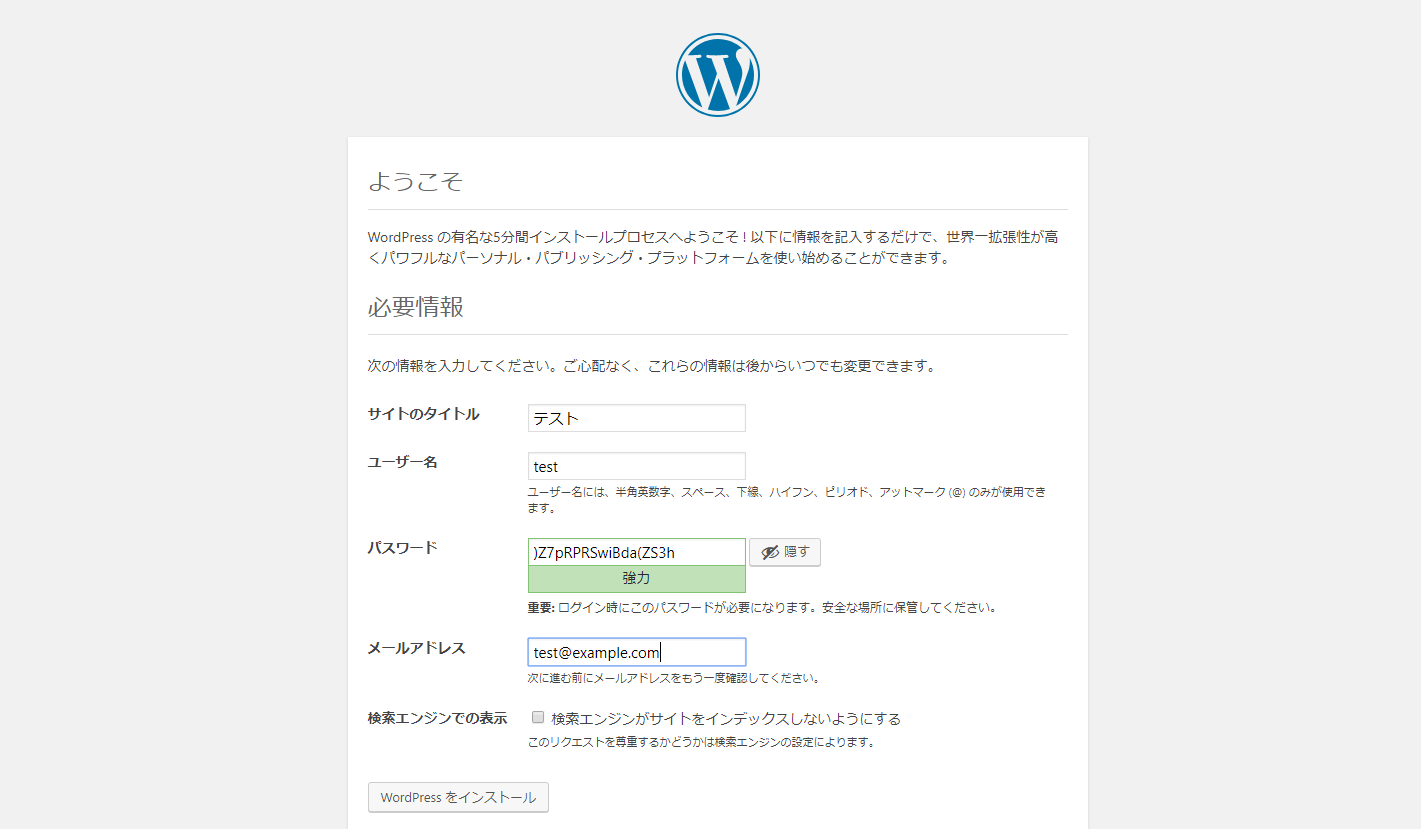
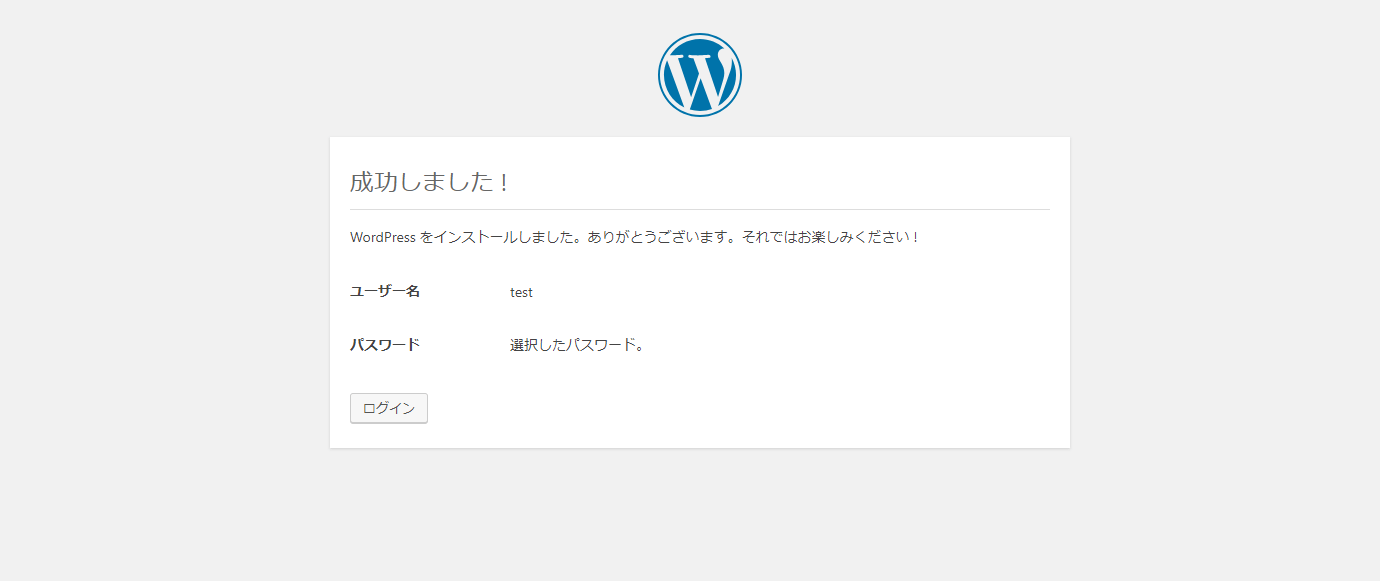
13. 以下の画面が出ればセットアップは完了です。