今回はGitHubのようなリモートレポジトリを管理できるGitLabをインストールしてみました。
そのままだと不便なので、他のアプリケーションと両立できるようにリバースプロキシを利用してサブドメインでアクセスできるようにしました。
0.まずGitLabの動作に必要なパッケージをインストールします。ConohaのCentOS7.3ではすべて導入済みでしたのでスキップします。
yum install curl policycoreutils openssh-server openssh-clients
systemctl enable sshd
systemctl start sshd
yum install postfix
systemctl enable postfix
systemctl start postfix
firewall-cmd --permanent --add-service=http
systemctl reload firewalld
1.GitLabの最新バージョンをインストールします。
curl -sS https://packages.gitlab.com/install/repositories/gitlab/gitlab-ce/script.rpm.sh | sudo bash
sudo yum install gitlab-ce
2.GitLabの設定ファイルをリバースプロキシ用に変更します。
vim /etc/gitlab/gitlab.rb

#以下の行をそれぞれ検索して編集
external_url 'https://GitLabのURL'
nginx['listen_port'] = 任意のポート番号
nginx['listen_https'] = false
3.NginxでGitLabへリバースプロキシを設定します。
vim /etc/nginx/conf.d/gitlab.conf

#任意のServerの中に以下を記述
location / {
    proxy_set_header Host $host;
    proxy_set_header X-Real-IP $remote_addr;
    proxy_set_header X-Forwarded-For $proxy_add_x_forwarded_for;
    proxy_set_header X-Forwarded-Proto $scheme;
    proxy_set_header X-Forwarded-Ssl on;
    proxy_pass http://127.0.0.1:上記で設定したポート番号;
}
4.GitLabに設定を反映させます。
gitlab-ctl reconfigure
5.Nginxを再起動します
systemctl restart nginx
6.手順3のserver_nameで指定したURLにブラウザでアクセスします
7.以下の画面が表示されたら、管理アカウントのパスワードを入力します。

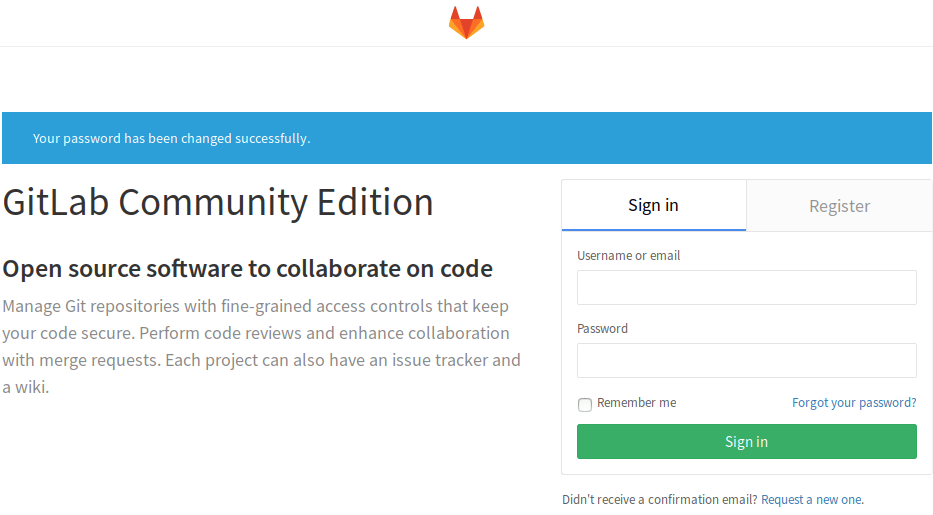
8.ログイン画面に移動するので、ユーザー名「root」と先ほど設定したパスワードを入力してログインします。
以上で導入は完了です。
一見簡単に見えますが、rootのパスワード画面を出すのに結構苦戦しました(;´д`)トホホ…